Launch a Secure EC2 Web Server from Scratch
Every cloud engineer's journey starts here — launching a virtual server and making it serve something to the world. But today's project isn't just about getting a page to load. It's about understanding why each piece exists: the security group acting as a virtual firewall, the key pair authenticating your SSH session, the user data script bootstrapping the server before you ever log in.
This is Day 1 of my 30-day AWS challenge. Each day I build one project that maps to a real AWS service domain. By the end, I'll have a working portfolio of 30 deployments — and a solid foundation for the SAA-C03 exam.
Architecture overview
The setup is deliberately simple: a single EC2 instance in the default VPC, wrapped in a custom security group, accessible over HTTP/HTTPS from anywhere and over SSH from your IP only.
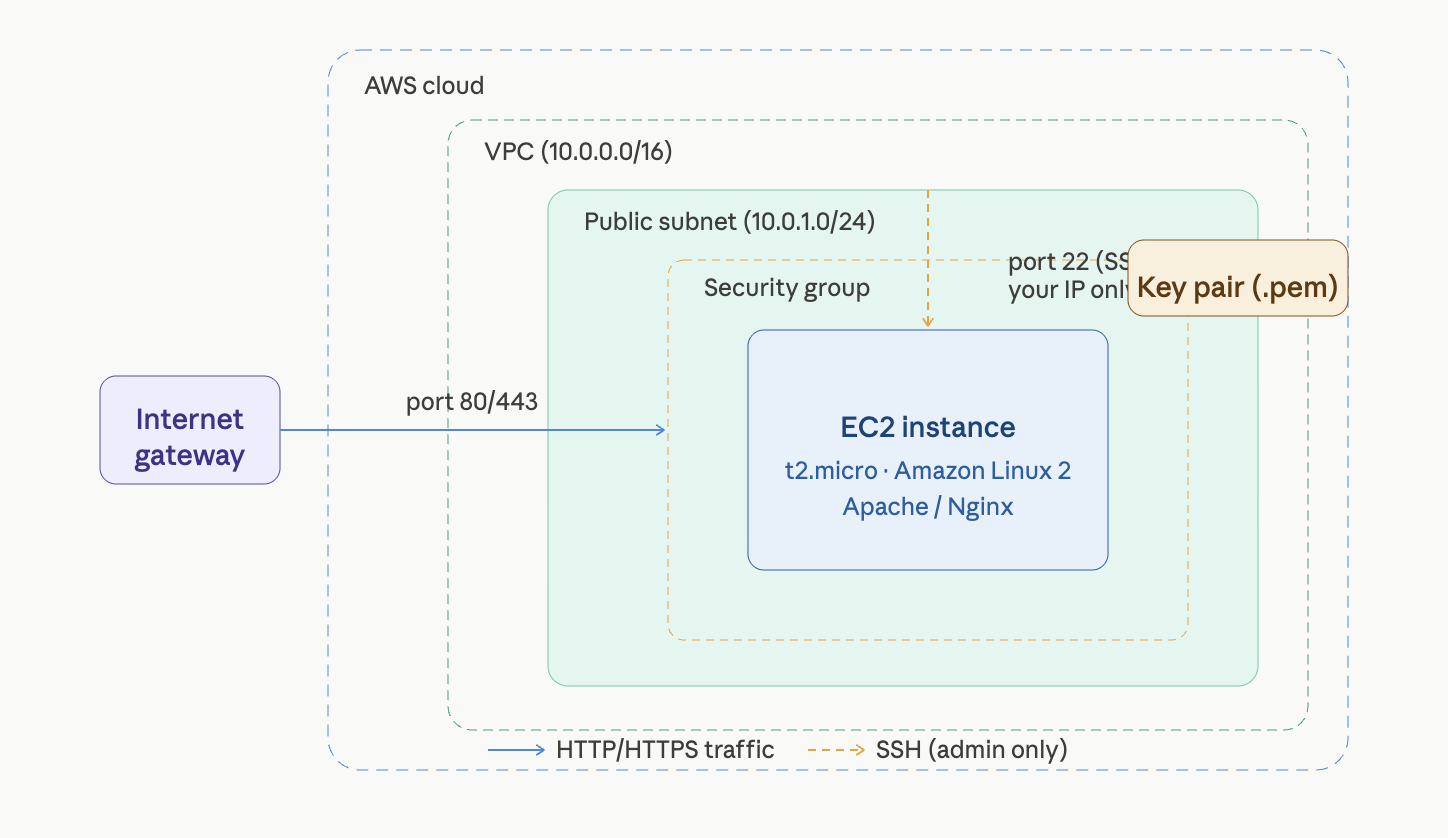
The security group is the most important component here. It's a stateful virtual firewall — allow inbound port 80, and the return traffic is automatically permitted without an explicit outbound rule. This is fundamentally different from NACLs, which require you to define both directions explicitly.
Step-by-step build
Step 1 — Create a key pair
Navigate to EC2 → Key Pairs → Create key pair. Name it day1-key, choose RSA format, and download the .pem file. This is your only chance to download it — store it somewhere safe.
# Secure the key file immediately after download
chmod 400 day1-key.pem
Step 2 — Configure the security group
Go to EC2 → Security Groups → Create security group. Name it day1-webserver-sg. Add these inbound rules:
| Type | Port | Source | Reason | |-------|------|--------------|--------------------| | HTTP | 80 | 0.0.0.0/0 | Public web access | | HTTPS | 443 | 0.0.0.0/0 | Secure web access | | SSH | 22 | My IP only | Admin access |
⚠️ Security warning: Never set the SSH source to
0.0.0.0/0. That exposes port 22 to the entire internet and every automated scanner on it. Always restrict SSH to your IP (/32CIDR). This is a favourite SAA-C03 exam trap.
Step 3 — Launch the EC2 instance
Go to EC2 → Launch Instance and fill in:
- AMI: Amazon Linux 2023 (free tier eligible)
- Instance type:
t2.micro - Key pair:
day1-key - Security group:
day1-webserver-sg(from step 2) - Storage: 8 GiB gp3 (default)
In Advanced → User Data, paste this bootstrap script:
#!/bin/bash
yum update -y
yum install -y httpd
systemctl start httpd
systemctl enable httpd
echo "<h1>Day 1 — $(hostname -f)</h1>" > /var/www/html/index.html
User data runs once at first boot. The instance installs Apache and starts serving before you ever SSH in.
Step 4 — Verify and connect
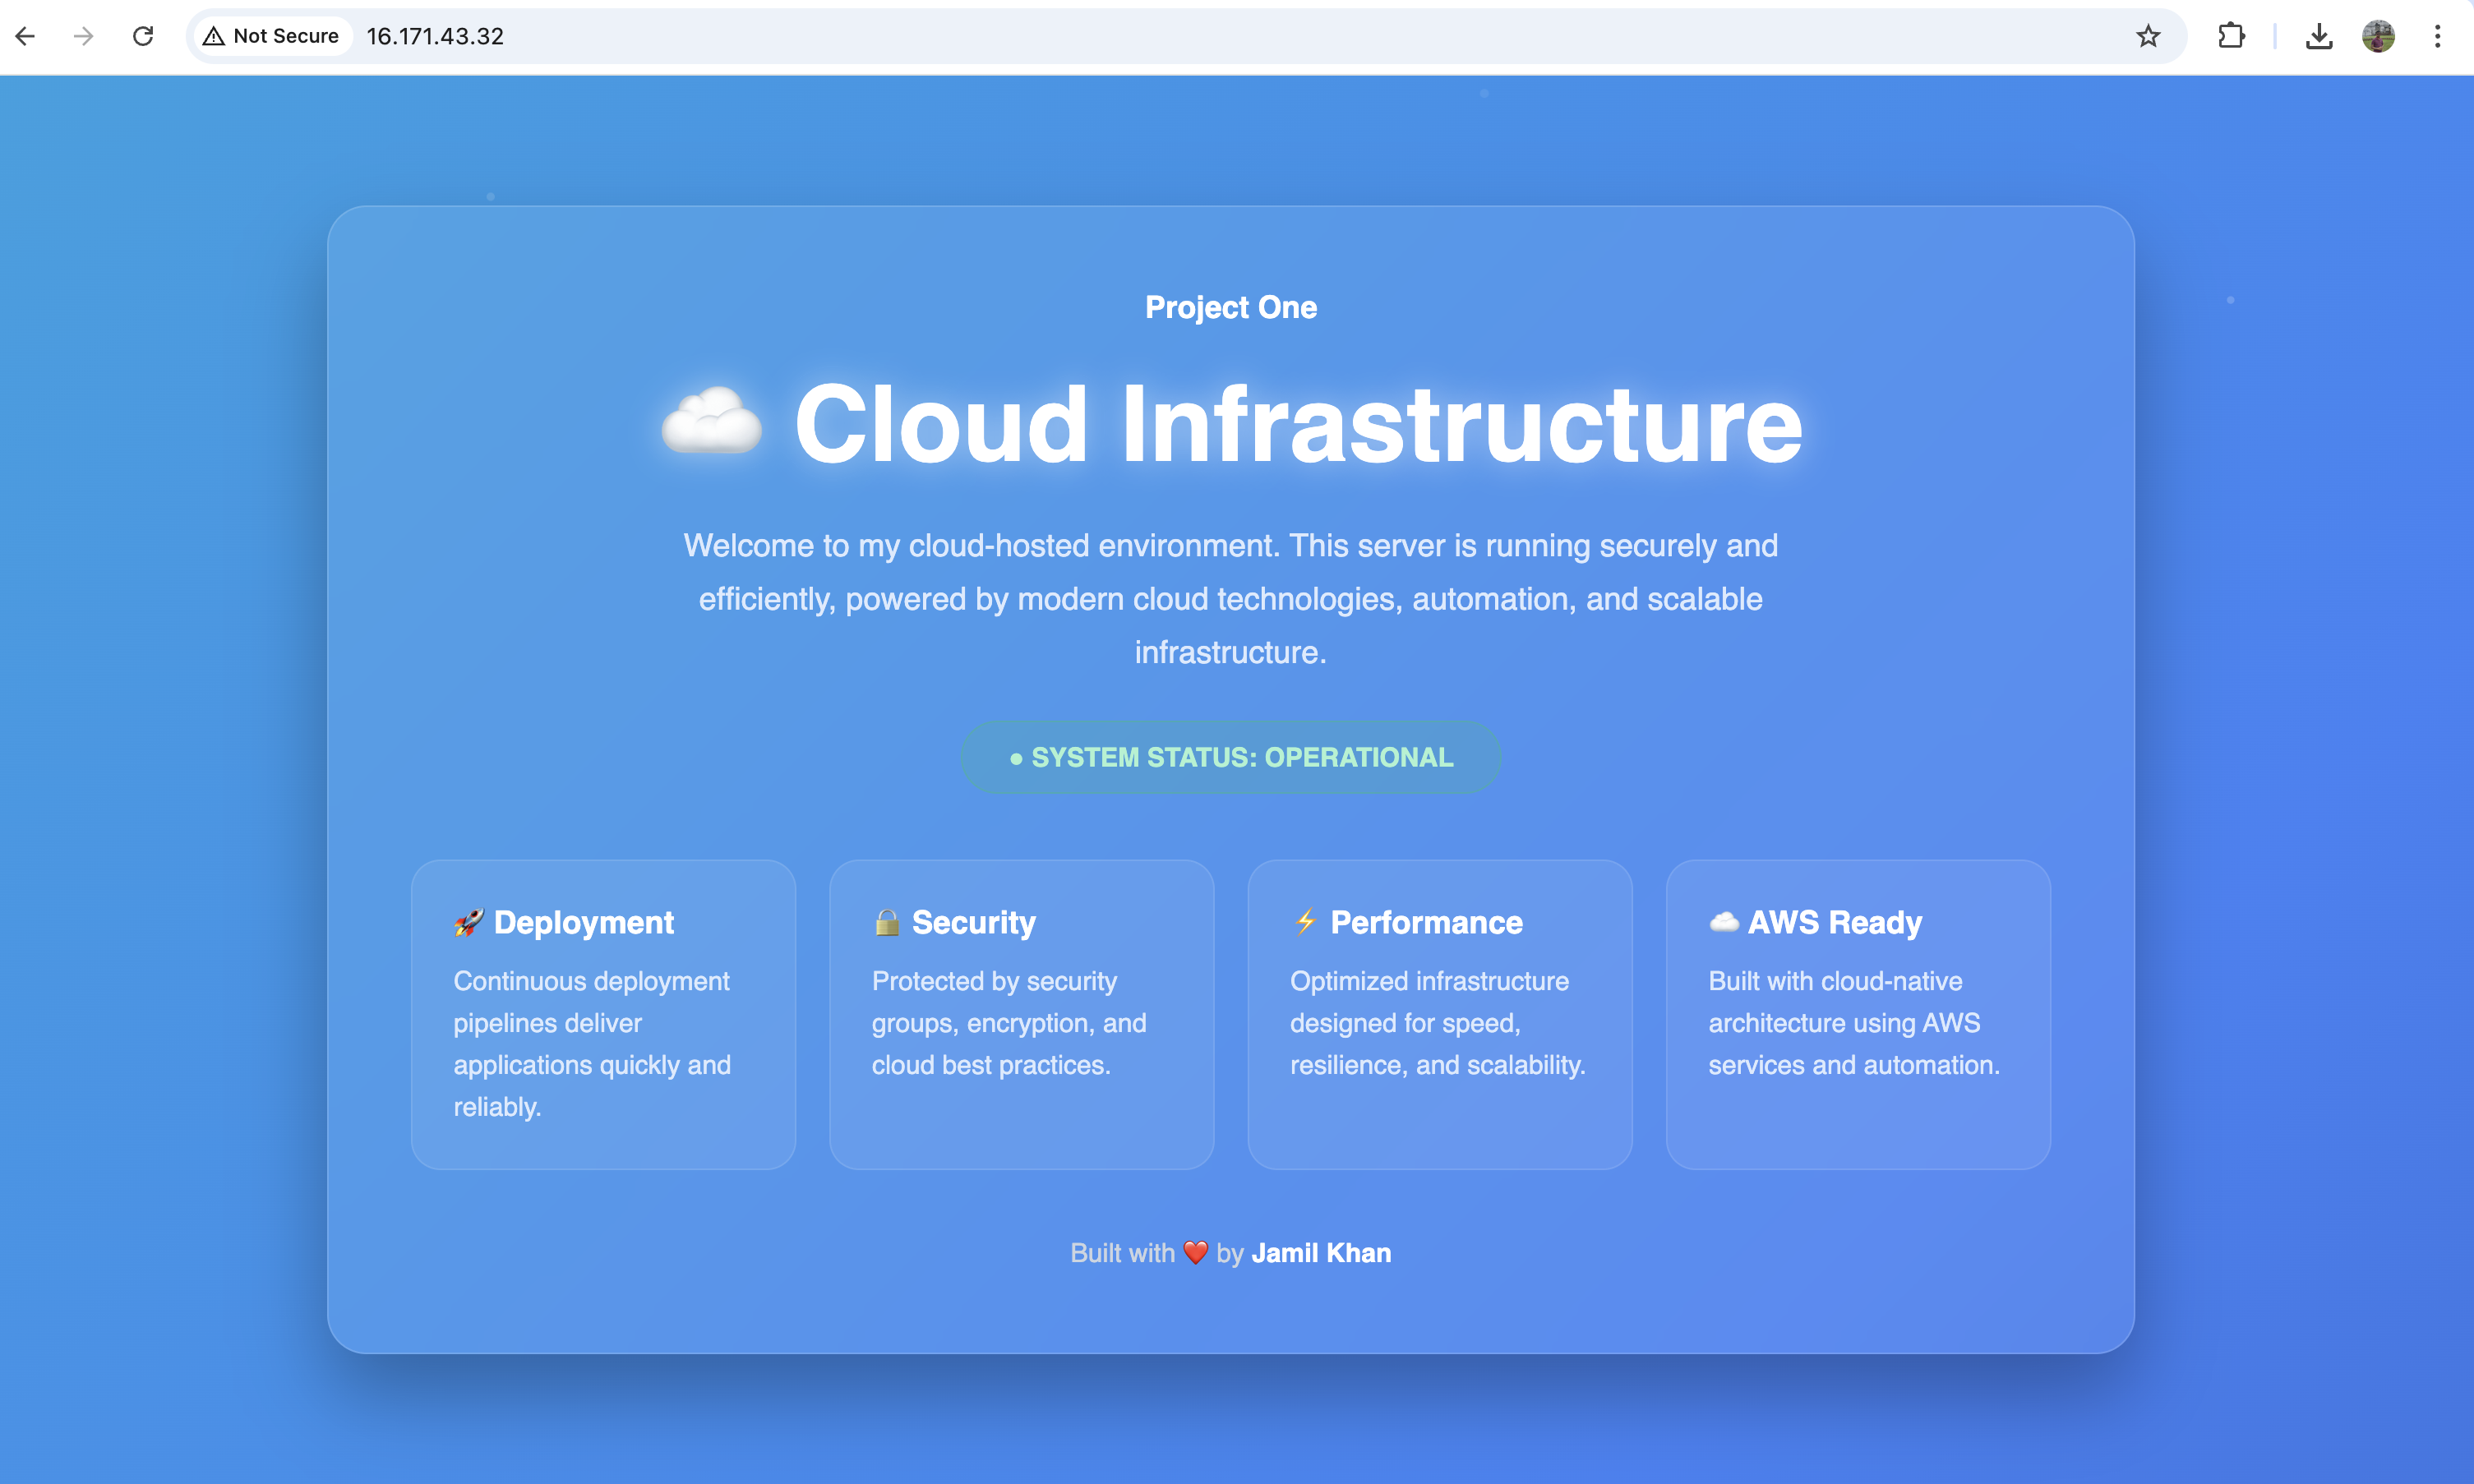
Once the instance shows running (~60 seconds), copy its Public IPv4 address. Open http://<your-ip> in a browser — you should see your Day 1 page.
To SSH in:
ssh -i day1-key.pem ec2-user@<your-public-ip>Once inside, explore a bit:
# Edit the web page
sudo nano /var/www/html/index.html

# Watch live access logs
sudo tail -f /var/log/httpd/access_log

# Confirm Apache is healthy
systemctl status httpd
💡 Pro tip: Run
curl http://169.254.169.254/latest/meta-data/from inside the instance. This is the EC2 Instance Metadata Service (IMDS) — it returns the instance's own ID, availability zone, IAM role credentials, and more. Memorise that IP address for the SAA-C03 exam.
Step 5 — Clean up
Terminate the instance via EC2 → Instances → Instance state → Terminate. Then delete the security group and key pair.
Good habit: always clean up after each day's project. A forgotten t2.micro costs ~$8/month. Over 30 days that adds up.