Host a Static Website on S3 + CloudFront
Amazon S3 paired with CloudFront is how AWS recommends hosting static content — and after building it hands-on, I completely understand why.
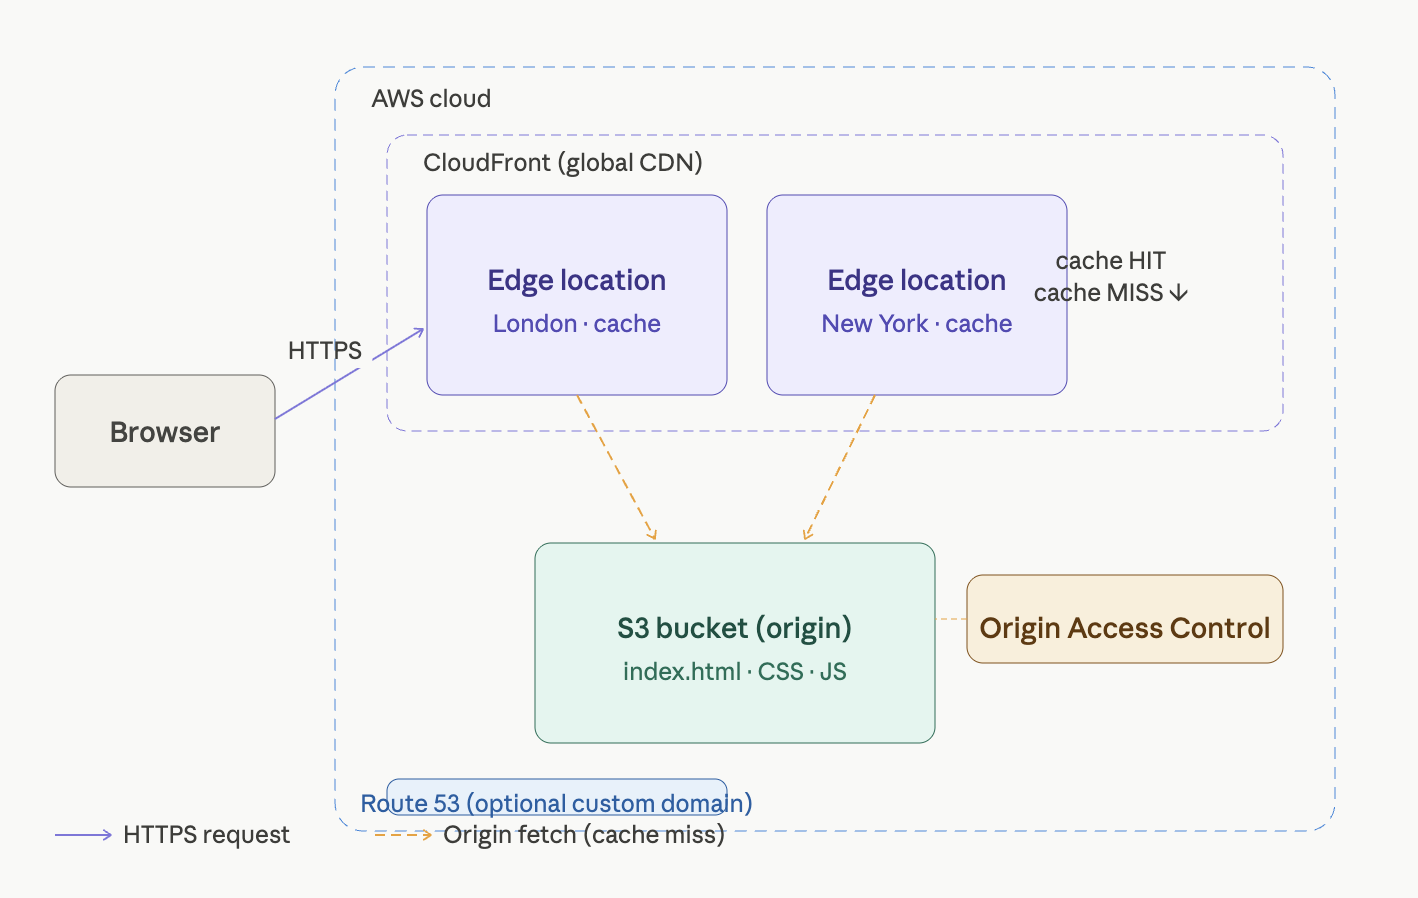
Architecture overview
The beauty of this architecture: once a file is cached at a CloudFront edge location, every subsequent request for it is served in single-digit milliseconds — no round-trip to S3, no server computation, nothing. It just flies.
What I built
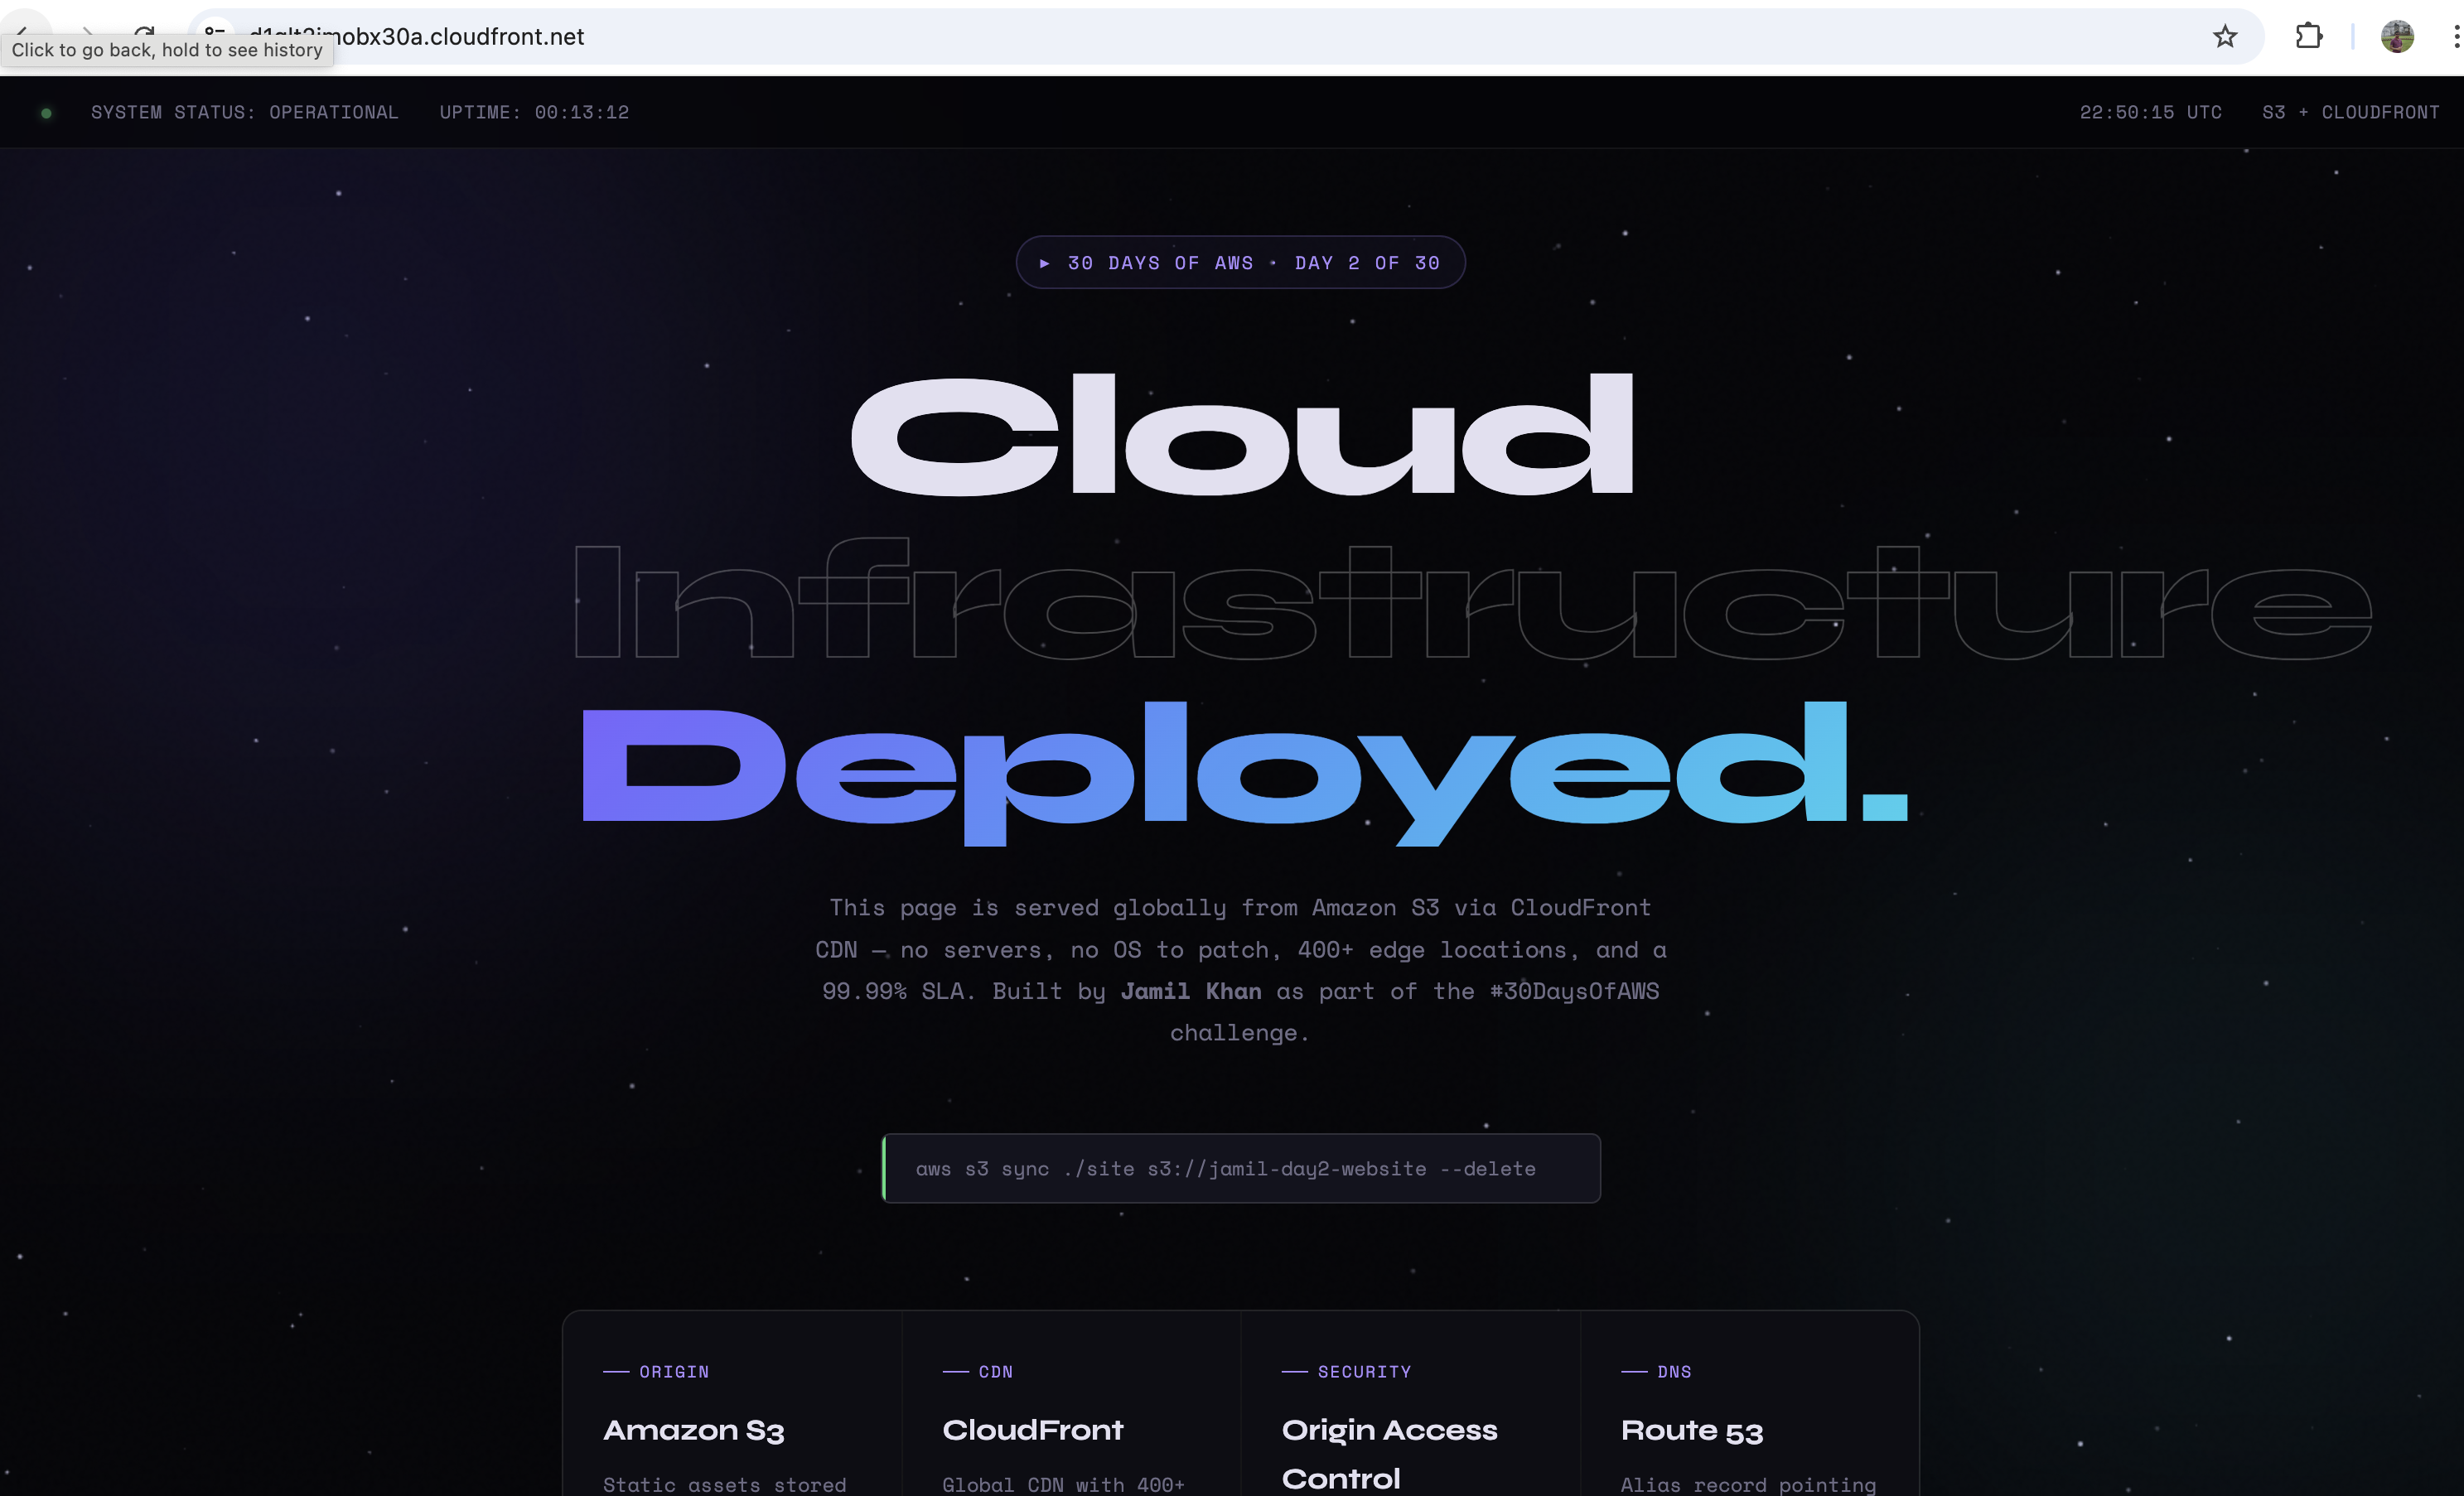
A fully animated, single-page site served from S3 via CloudFront with:
- Private S3 bucket (public access fully blocked)
- Origin Access Control (OAC) — only the CloudFront distribution can read from the bucket
- HTTP → HTTPS automatic redirect
- Free TLS certificate via AWS Certificate Manager
- Default root object (
index.html) configured on the distribution - Custom error pages mapped for 403 → 404
The site displays live stats: actual page load time from the Performance API, UTC clock, session uptime counter, and the real OAC bucket policy I used.
Step-by-step build
Step 1 — Create the S3 bucket
Go to S3 → Create bucket:
- Name: globally unique (e.g.
yourname-day2-website) - Region:
us-east-1 - Block all public access: leave ON — this is correct. CloudFront reads via OAC, not via public access.
Upload your index.html and any other assets to the bucket root.
⚠️ Common mistake: Uploading files into a subfolder (e.g.
site/index.html). CloudFront looks forindex.htmlat the bucket root unless you configure a path prefix. Keep it flat.
Step 2 — Create the CloudFront distribution
Go to CloudFront → Create distribution:
- Origin domain: select your S3 bucket from the dropdown (the S3 bucket option, NOT the static website endpoint URL)
- Origin access: Origin Access Control → Create new OAC (accept all defaults)
- Viewer protocol policy: Redirect HTTP to HTTPS
- Default root object:
index.html - Price class: North America and Europe (cheapest, fine for learning)
After clicking Create, AWS shows a yellow banner: "You must update the S3 bucket policy." Copy the generated policy — you need it in the next step.
⚠️ The #1 reason people get AccessDenied: Skipping this banner and never applying the bucket policy.
Step 3 — Apply the bucket policy
Go to S3 → your bucket → Permissions → Bucket policy → Edit. Paste the policy CloudFront generated:
{
  "Version": "2012-10-17",
  "Statement": [
    {
      "Sid": "AllowCloudFrontServicePrincipal",
      "Effect": "Allow",
      "Principal": {
        "Service": "cloudfront.amazonaws.com"
      },
      "Action": "s3:GetObject",
      "Resource": "arn:aws:s3:::YOUR-BUCKET-NAME/*",
      "Condition": {
        "StringEquals": {
          "AWS:SourceArn": "arn:aws:cloudfront::YOUR-ACCOUNT-ID:distribution/YOUR-DIST-ID"
        }
      }
    }
  ]
}
The Condition block is critical — it locks access to your specific distribution only. Even another CloudFront distribution in your own account cannot read this bucket.
Step 4 — Configure custom error pages
In your distribution → Error pages → Create custom error response:
S3 returns a 403 (not 404) when a file doesn't exist in a private bucket. Mapping it to a friendly 404 page matters for UX and SEO.
Step 5 — Wait and test
CloudFront deployment takes 3–5 minutes. Once the distribution status shows Enabled, open the .cloudfront.net domain in your browser. You should see your page over HTTPS with a valid certificate.
Step 6 — Update files and invalidate cache
After uploading new files to S3, CloudFront still serves the old cached version until the TTL expires. Force an immediate refresh:
# Via AWS CLI
aws cloudfront create-invalidation \
  --distribution-id YOUR_DIST_ID \
  --paths "/*"
Or via the console: CloudFront → your distribution → Invalidations → Create invalidation → /*
💡 Cost note: The first 1,000 invalidation paths per month are free. After that it's $0.005 per path. For production, use versioned filenames (
app.v2.js) instead of invalidating — that's the real-world pattern.
Step 7 — Clean up
Disable the CloudFront distribution first (Actions → Disable), wait ~5 minutes for it to fully disable, then delete it. Then empty and delete the S3 bucket.
The AccessDenied debugging checklist
I hit the AccessDenied XML error myself. Here's the exact checklist to fix it:
1. Bucket policy missing — Go to S3 → Permissions → Bucket policy. If it's empty, paste in the OAC policy from Step 3 above.
2. Default root object not set — CloudFront → General → Settings → Edit → set index.html. Without it, / maps to nothing in S3.
3. OAC not selected — CloudFront → Origins → Edit. Confirm "Origin access control settings" is selected, not "Public" or "Legacy OAI."
4. File uploaded to wrong path — Run aws s3 ls s3://your-bucket/ and confirm index.html is at the root.
5. Distribution still deploying — Status must show "Enabled" (not "Deploying") before it works.